How to Avoid Turf Seam Visibility: The Professional’s Pillar Guide
In the discipline of synthetic landscape architecture, the hallmark of technical mastery is not the presence of a lush surface, but the absence of its seams. When these joins fail to integrate, they create linear disruptions that betray the synthetic nature of the installation and compromise the psychological immersion of the landscape.
The challenge of seam concealment is multi-dimensional, involving the interaction of light, pile direction, and mechanical tension. It is not merely a task of adhesion; it is an exercise in managing the geometry of the “tuft bind” and the gauge of the backing material. Many observers attribute visible seams to poor gluing, but the failure often originates much earlier in the cutting technique, the preparation of the sub-base, or the failure to account for the thermal expansion coefficient of the polyurethane backing. A seam that appears perfect at 60°F may become a prominent ridge at 110°F if the tension dynamics were not properly calibrated during the initial lay.
To achieve a truly seamless finish, one must adopt the mindset of a precision engineer rather than a carpet installer. This involves understanding how the spacing between the “tuft rows” on adjacent rolls must be perfectly synchronized to maintain the uniform density of the surface. Any deviation, even by the width of a single blade of grass, creates a “mohawk” (where blades are too crowded and stand up) or a “valley” (where a gap allows the backing or light to be visible). This article explores the systemic rigor required to eliminate these artifacts, providing a definitive framework for achieving total surface continuity.
Understanding “how to plan turf seam visibility.”
The primary misunderstanding regarding how to avoid turf seam visibility is the belief that the seam is a single point of failure. In reality, seam visibility is a lagging indicator of various upstream variables. Professionals categorize these into three primary “disruption modes”: Optical, Mechanical, and Structural. An optical disruption occurs when the grain of two rolls is mismatched, causing light to reflect differently off each section. A mechanical disruption is the physical overlapping or gapping of the backing. A structural disruption refers to the failure of the adhesive or the sub-base beneath the joint.
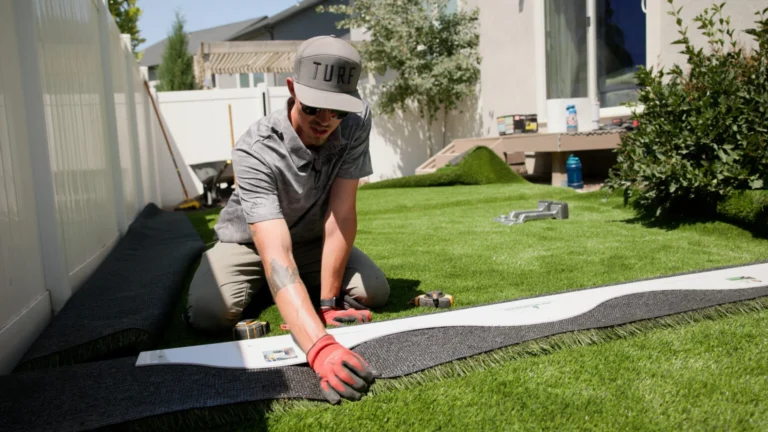
One significant oversimplification is the reliance on “seam tape and glue” as a universal fix. While these materials are essential, they are secondary to the “preparation of the edges.” To make a seam truly disappear, the factory edge, often called the “selvage,” must be removed with surgical precision. This requires cutting through the backing between the tuft rows without decapitating the fibers. If the installer cuts too close to a row, the fibers lose their lateral support and lay flat, creating a visible line. If they cut too far away, the extra backing prevents the two rows from nesting together.
Furthermore, the environmental context plays a critical role. A seam that is invisible under overcast light may become glaringly obvious under the low-angle “golden hour” sun, which casts long shadows into any minor surface depression. Achieving mastery in this area requires the installer to predict how these variables will interact over the course of a day and a season.
The Technical Evolution of Joinery in Synthetic Systems
Historically, synthetic turf was joined using rudimentary mechanical fasteners or industrial-grade tapes that were prone to degradation under UV exposure and moisture. The early athletic fields of the 1970s often featured prominent seams that were accepted as a functional necessity. However, as turf migrated into the luxury residential market, the demand for “organic realism” drove the development of more sophisticated joinery technologies.
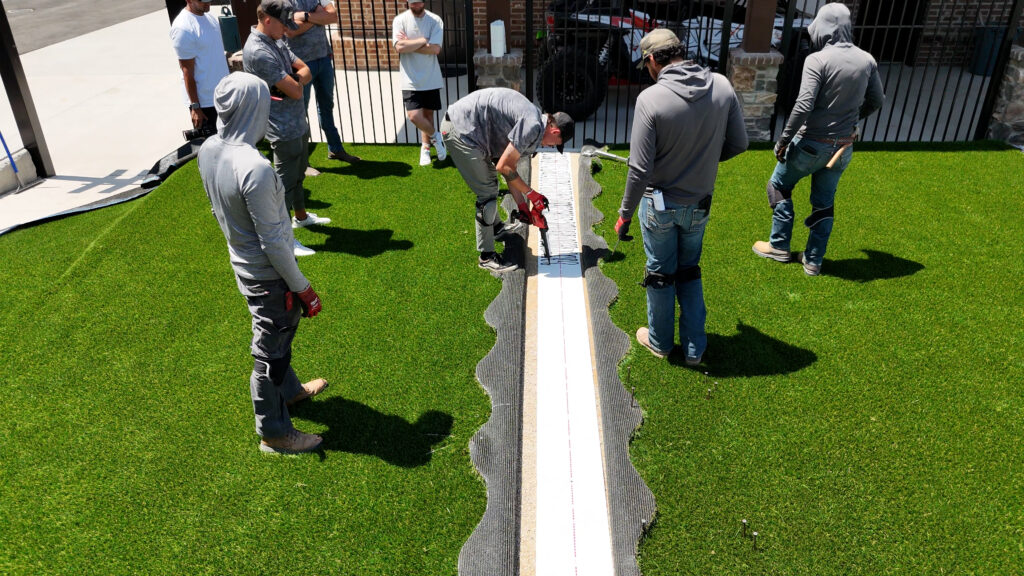
The introduction of “S-seam” or “Wave-seam” technology represented a major shift. Instead of a straight line, which the human eye is evolutionarily tuned to detect, installers began using specialized tools to cut interlocking, curvilinear patterns. This technique disperses the visual “break” across a wider area, making it significantly harder for the eye to track. Simultaneously, the chemistry of adhesives evolved from simple contact cements to moisture-cured urethanes. These modern adhesives create a flexible, waterproof bond that mimics the expansion and contraction of the turf itself, reducing the likelihood of “seam crawl” or “tenting” over time.
Conceptual Frameworks and Mental Models
To master the “invisible join,” technicians use several mental models to guide their physical labor.
1. The Tuft-Row Synchronization Model
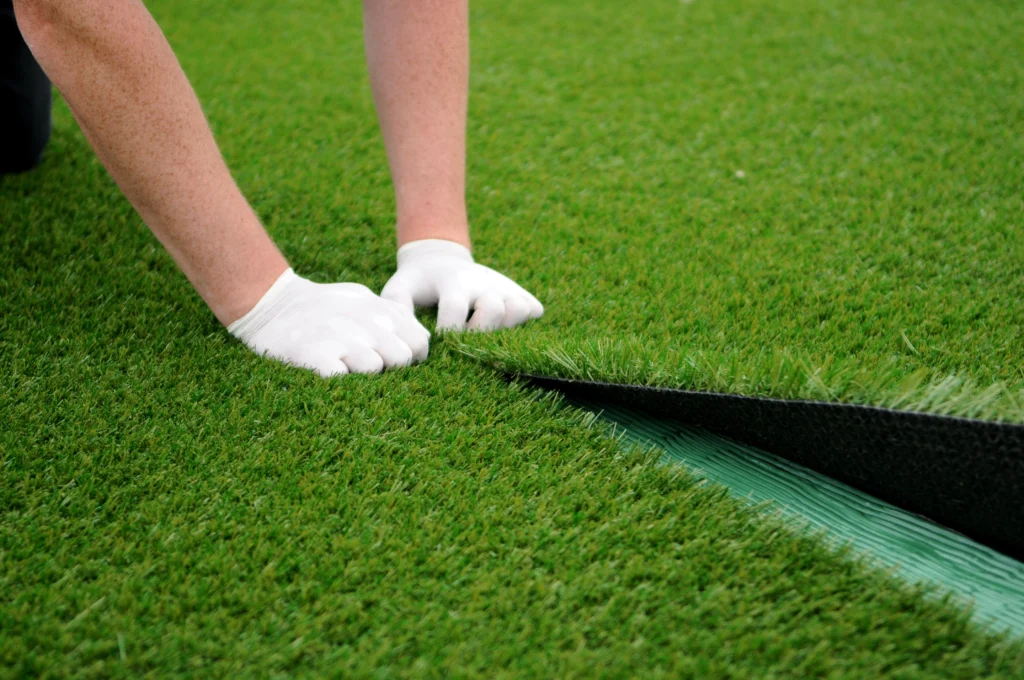
Think of the turf backing as a grid of rows. For a seam to be invisible, the distance between the last row of Roll A and the first row of Roll B must be the same as the distance between any two rows in the center of the roll (the “gauge”). If the gauge is 3/8 of an inch, the seam gap must also be 3/8 of an inch. Any variance here creates an immediate visual disruption.
2. The Solar Reflection Path
This model requires the installer to map the path of the sun relative to the seam’s orientation. Whenever possible, seams should be run “into” the sun’s primary path rather than perpendicular to it. Perpendicular seams are much more likely to catch shadows in the tiny depressions created by the join.
3. The Tension-Neutrality Principle
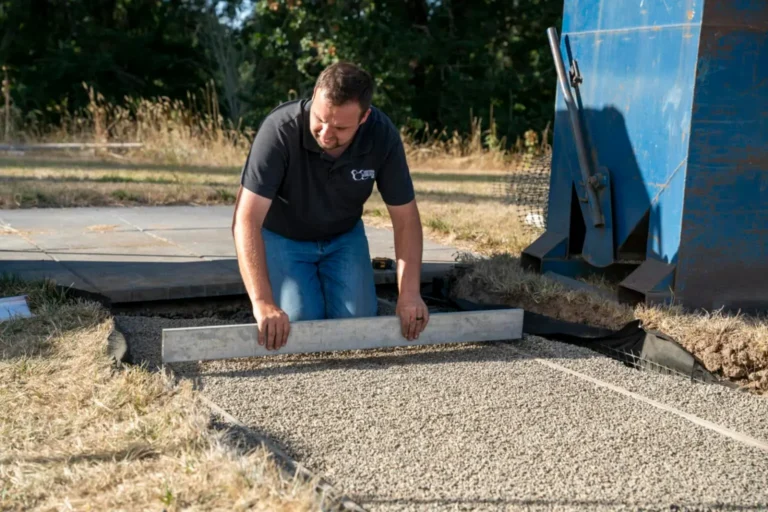
Synthetic turf is under constant internal stress from the manufacturing and rolling process. A “tension-neutral” seam is one where the material has been allowed to “acclimate” or relax in the sun for several hours before being joined. If you glue turf while it is still “tight” from the roll, it will inevitably pull away from the seam as it relaxes, creating a gap.
Methodological Variations and Technical Trade-offs
There are several ways to join turf, each with a specific profile of cost, speed, and durability.
| Method | Visual Quality | Durability | Complexity | Best Use Case |
| Butt Join (Straight) | High (if precise) | Medium | Moderate | Standard rectangular lawns |
| S-Cut (Curvilinear) | Highest | High | High | Large, open luxury expanses |
| Mechanical Stapling | Low | Low | Low | Temporary installs or low-end pet runs |
| Hot-Melt Seaming | High | Very High | Very High | High-traffic commercial/athletic |
| Self-Adhesive Tape | Medium | Low | Low | Small DIY “light-traffic” areas |
The Trade-off of “Double Cutting”
“Double cutting” involves overlapping two pieces of turf and cutting through both simultaneously. This ensures a perfect geometric match. However, the risk is high: if the blade is not perfectly vertical or if it catches a fiber from the bottom layer, the seam is permanently damaged. Professional editorial judgment often favors “cutting from the back” to protect fiber integrity, despite the increased time requirement.
Detailed Real-World Scenarios
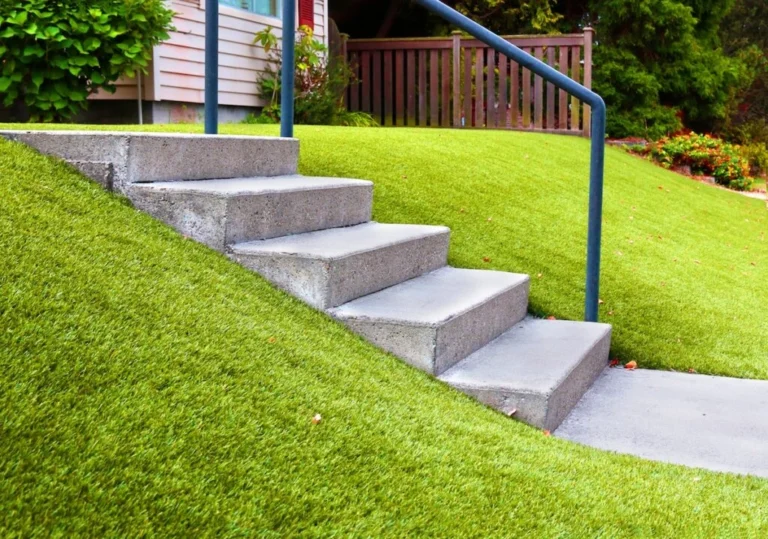
Scenario A: The Multi-Directional Slope
Joining turf on a hill where two slopes meet creates a “V” shaped tension point.
-
The Problem: Gravity pulls the rolls in opposite directions, stressing the adhesive.
-
The Solution: Using a “bridge” of seam tape that is wider than the standard 12 inches, combined with mechanical anchors (spikes) placed 2 inches away from the seam to take the load off the glue.
-
Failure Mode: If only glue is used, the seam will likely “smile” (open up) within the first winter.
Scenario B: The Radius Edge
When turf must follow a curved garden bed, installers often try to “pie-crust” the edges.
-
The Problem: This creates multiple small seams that are difficult to align with the grain.
-
The Solution: Using a single large piece and accepting a higher “waste factor.” This allows the grain to remain consistent across the entire curve, eliminating the need for complex joins in high-visibility areas.
Planning, Cost, and Resource Dynamics
The pursuit of an invisible seam is the primary driver of labor costs in high-end installations. It requires a slow, methodical pace that cannot be rushed.
Resource Allocation for Seam Integrity
| Phase | Time Investment | Cost Variable | Error Margin |
| Acclimation | 2–4 Hours | Opportunity cost of time | High (if skipped) |
| Selvage Removal | 45 min / 15ft | Blade consumption | < 1mm |
| Dry-Fitting | 1 Hour | Professional Labor | Zero |
| Adhesive Application | 30 min / 15ft | Glue quality/volume | High (avoiding “ooze”) |
Tools, Strategies, and Support Systems
Specialized tooling is what separates a DIY attempt from a professional finish.
-
Loop Pile Cutter: A tool that follows the “lanes” between tuft rows, ensuring a straight cut without damaging the grass blades.
-
Seam Peeler: Used to ensure the backing is perfectly flat and free of debris before applying tape.
-
Turf Grippers: Large, adjustable clamps that allow the installer to pull two rolls together to achieve the exact gauge required.
-
Weighted Seam Roller: A 75lb–100lb roller used to press the turf into the adhesive, ensuring 100% transfer without shifting the material.
-
Stand-Up Turf Shaver: For trimming the “tuft-bind” height if one roll’s backing is slightly thicker than the other.
-
Gluescape Spreader: A notched trowel that ensures the adhesive is applied at a specific “bead height,” preventing the glue from rising through the backing and matting the fibers.
Risk Landscape and Failure Modes
A visible seam is often the first step in a “cascade of failure.”
-
Capillary Action: If a seam is slightly open, water will be drawn into the gap. This water carries fine silt and organic matter, which clog the drainage of the tape and weaken the adhesive bond over time.
-
UV Degradation of Backing: The backing of synthetic turf is not designed for direct sunlight exposure. A gap in the seam allows UV rays to hit the edges of the backing, making them brittle and prone to cracking.
-
Trip Hazards: A seam that “tents” or ridges is not just an eyesore; it becomes a point of failure for footwear to catch, leading to localized tearing of the tuft rows.
Governance, Maintenance, and Long-Term Adaptation
Even a perfectly executed seam requires “structural governance” to survive a decade of use.
-
Seasonal Tension Checks: In areas with extreme temperature swings, seams should be inspected in the spring and fall. Any “peak” in the seam indicates that the turf has expanded more than the base, requiring a minor tension release at the perimeter.
-
Infill Level Monitoring: The infill (sand/rubber) is what actually hides the seam. If the infill washes away near a join, the seam will “ghost” through. Maintaining a consistent 1/2-inch to 3/4-inch infill depth is the most effective way to protect the joint.
-
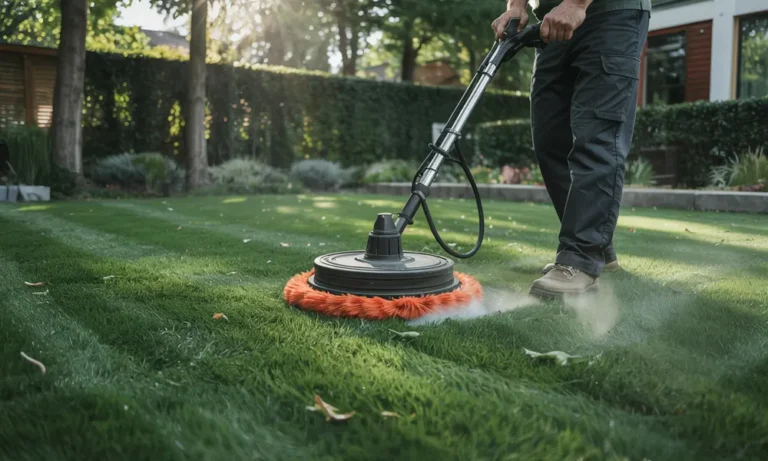
Cleaning Protocols: Never use a power-washer directly on a seam. The high-pressure water can delaminate the adhesive from the tape.
Measurement, Tracking, and Evaluation
Professionals use the “3-Distance Evaluation” to verify seam quality.
-
The 20-Foot Check: From 20 feet, the surface should look like a single piece of sod. No lines should be visible from any angle.
-
The 5-Foot Check: From a standing position directly above the seam, the “grain” should be indistinguishable.
-
The Tactile Test: Running a hand across the seam, you should not feel a ridge or a valley. The transition should be as smooth as the center of the roll.
Common Misconceptions and Oversimplifications
-
Myth: More glue makes a stronger seam. Reality: Too much glue creates a “hard spot” that doesn’t expand with the rest of the turf, leading to ridging.
-
Myth: Seam pins are enough. Reality: Pins are a temporary mechanical hold; without adhesive and tape, the seam will inevitably move.
-
Myth: You can fix a visible seam with more infill. Reality: Infill can hide a minor gap, but it cannot fix a mismatched grain or a “mohawk.”
-
Myth: Seams always go away over time. Reality: If a seam is visible on Day 1, it will likely become more visible as the material settles and the infill compacts.
Conclusion: The Architecture of the Seamless
The mastery of how to avoid turf seam visibility is the ultimate expression of craft in the synthetic landscape industry. It requires a synthesis of geometric precision, material science, and environmental awareness. A seamless lawn is not the result of a single “trick,” but the outcome of a disciplined process that begins with the first cut of the selvage and ends with the final sweep of the power broom. By treating the join as a structural bridge rather than a mere patch, installers can ensure that the transition remains invisible, durable, and indistinguishable from the natural world it seeks to emulate.